


Extension News
-

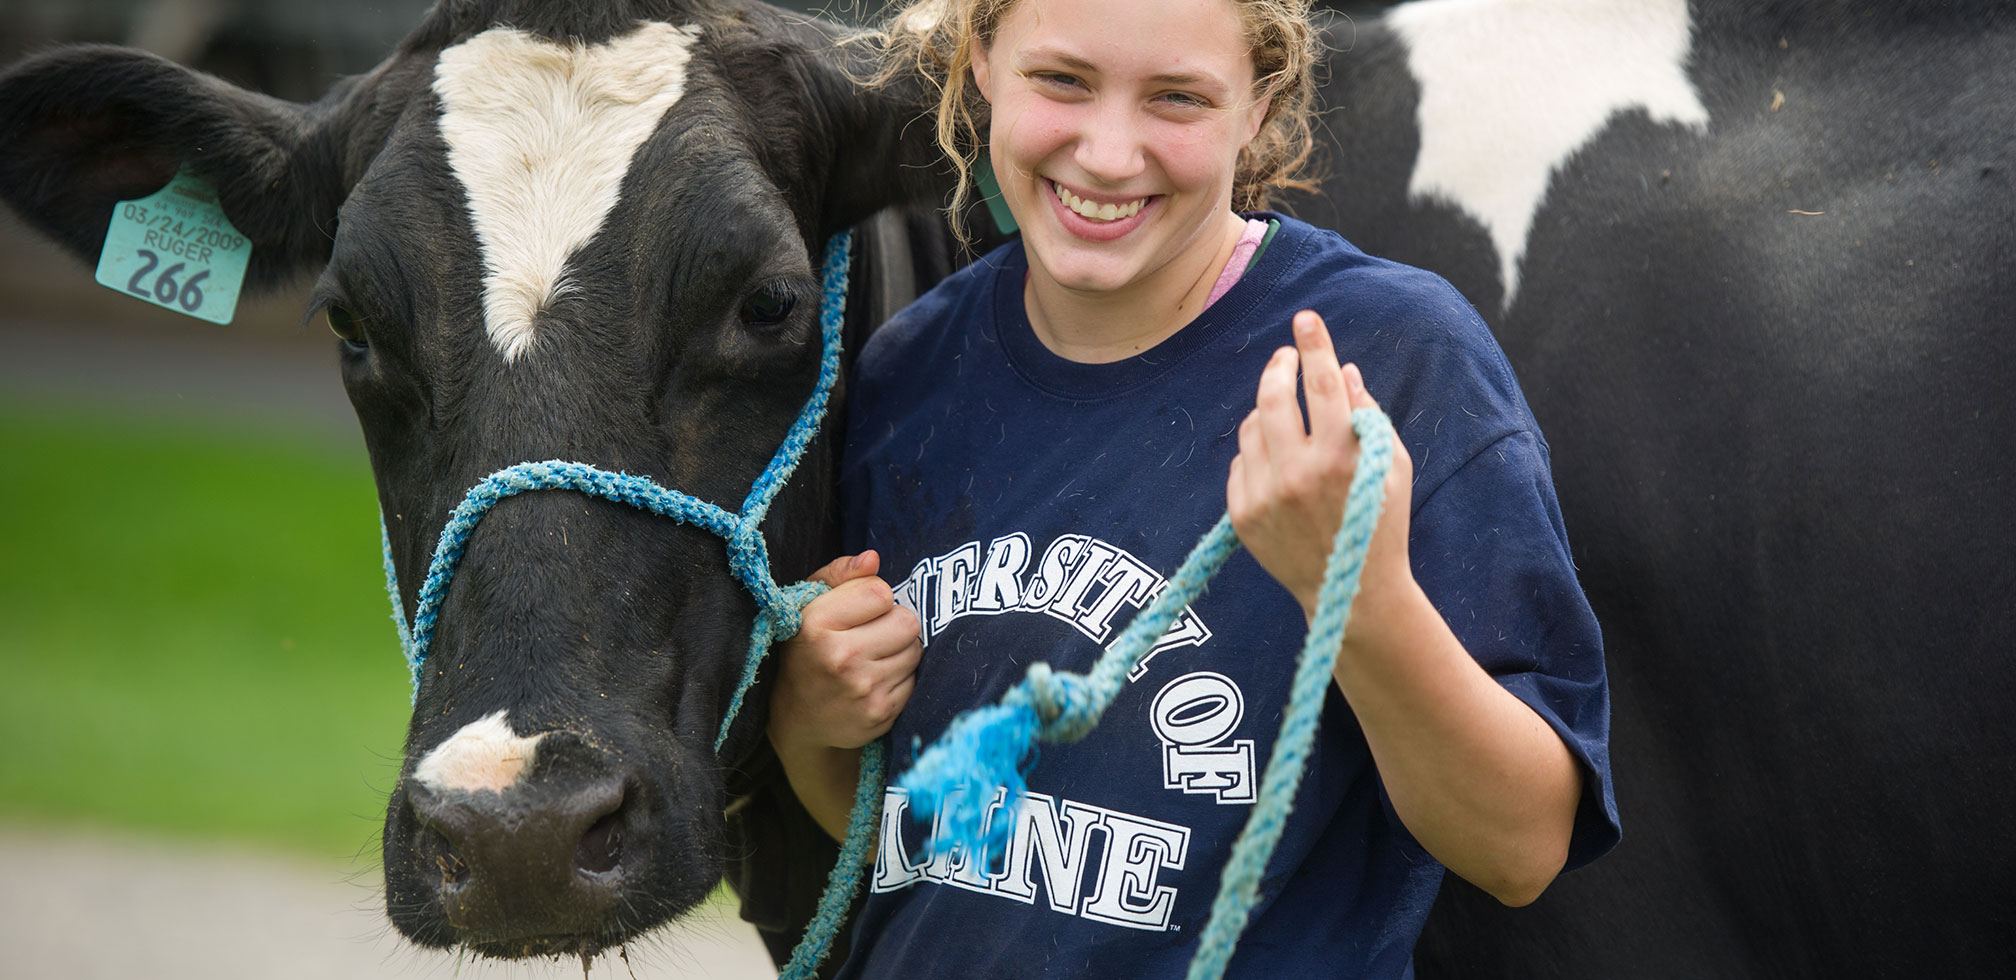
UMaine Extension 4-H offers online club on farm animal care
-

The WCEA Scholarship Fund has met its match; community support needed to reach the $30K goal
-
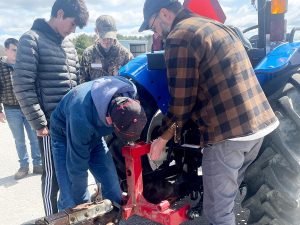
UMaine Extension offering farm tractor safety courses in April and May
-
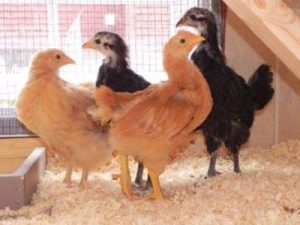
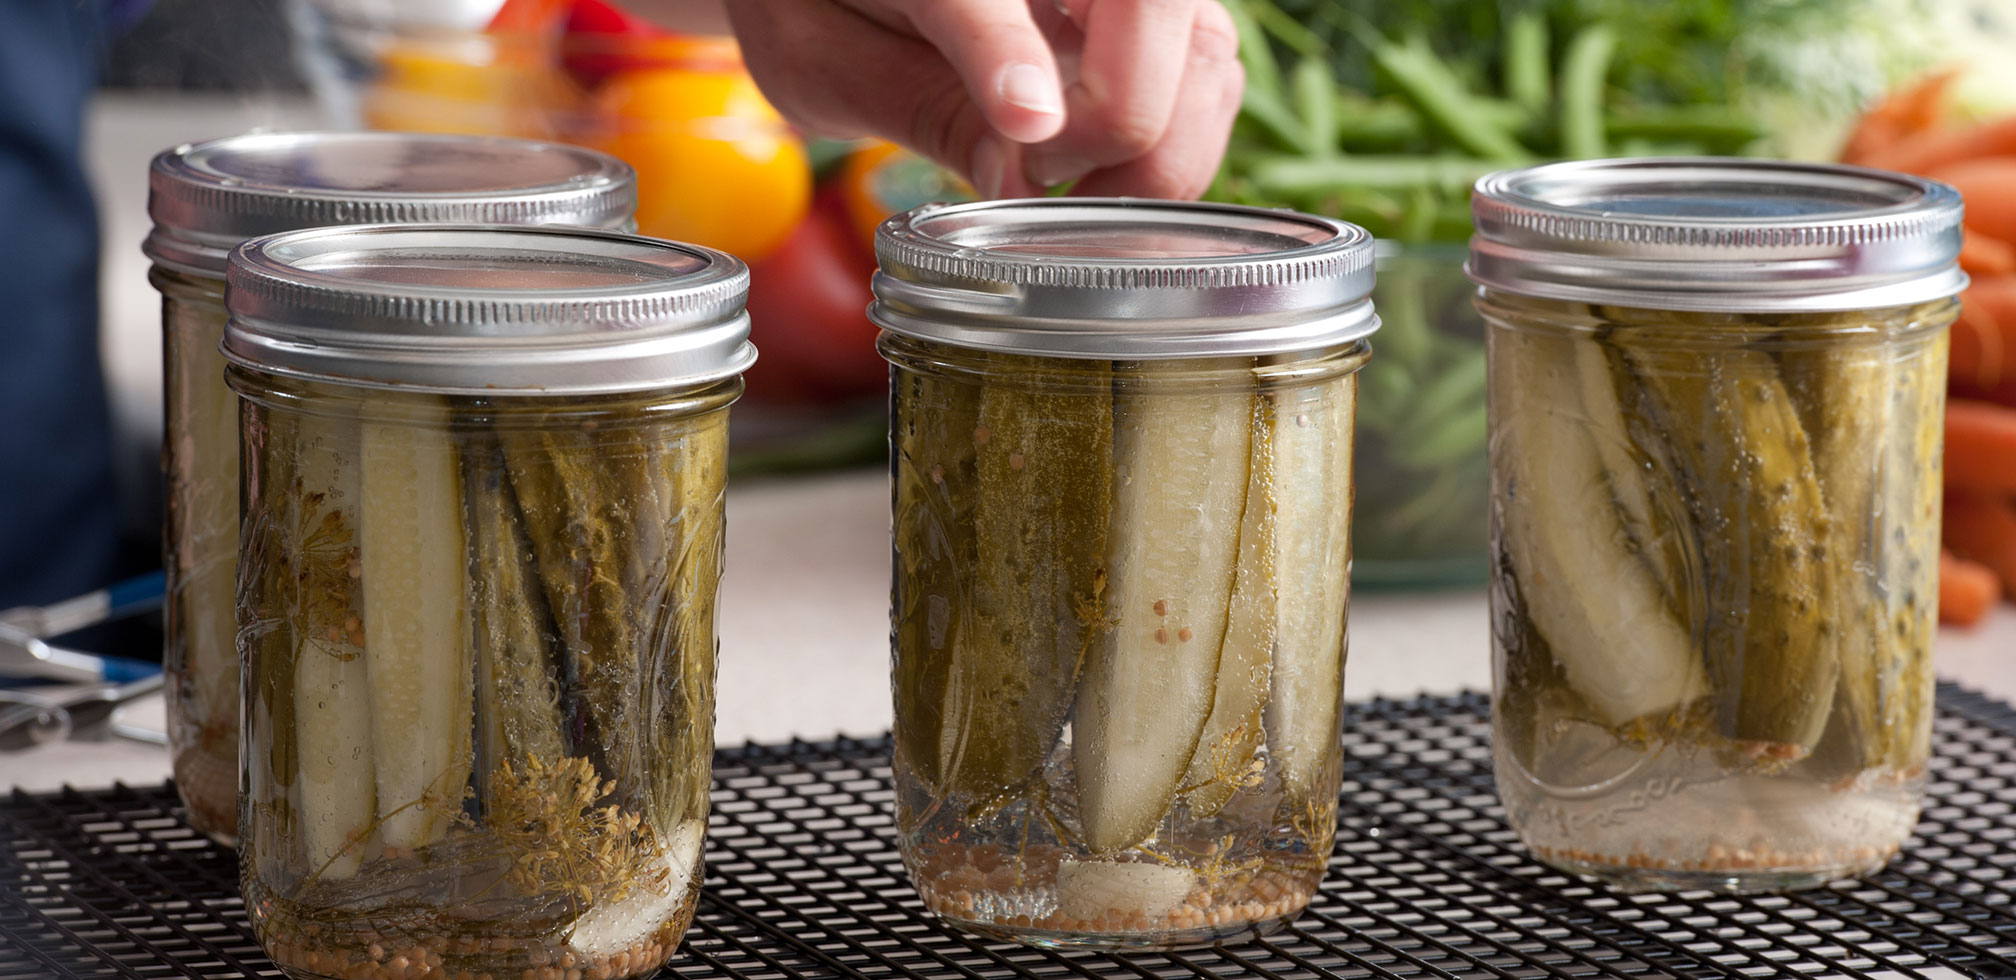
Extension offers workshops for Mainers with backyard chicken flocks
-

Extension Homemakers partners with Janet’s Jammies to sew hundreds of pajamas for children in need
Extension in UMaine News
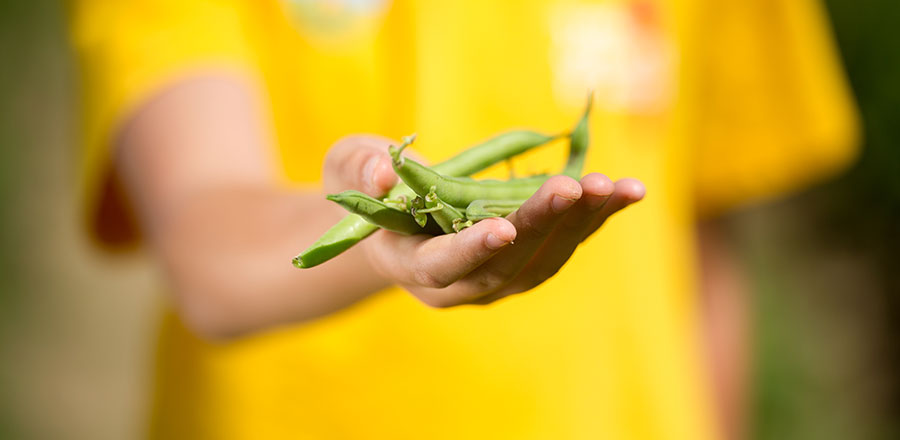
- UMaine Extension Raymond Community Garden highlighted by Windham Eagle
- UMaine Extension webpage on tussock caterpillars cited by The State
- Mainebiz highlights European scallop trip involving UMaine faculty
- UMaine Extension launches volunteer management micro-credential for beginners
- UMaine Extension gardening resources featured in Lincoln County News; Windham Eagle